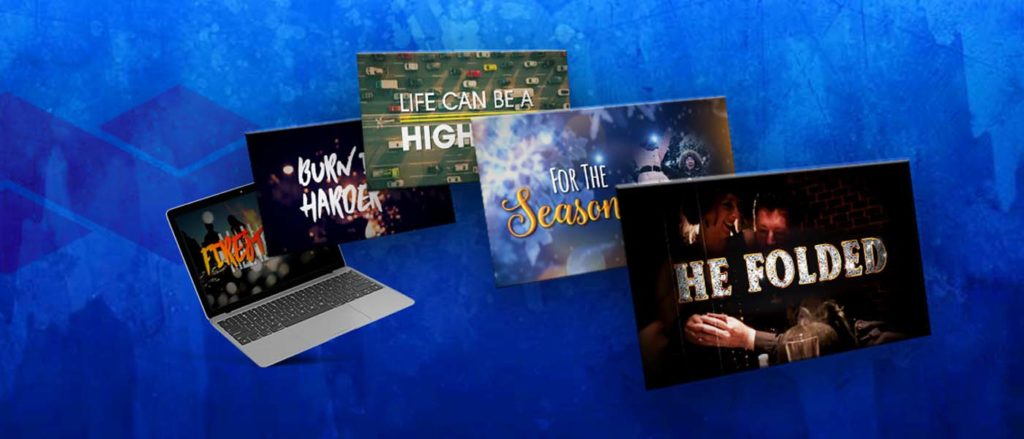
Are you an artist or part of a music label looking to create a killer lyric video for your latest track? A well-produced lyric video can not only promote your song but also build your brand and provide a unique experience for your fans.
With the rise of streaming services and social media platforms, lyric videos have become a crucial part of the music industry with popular artists like Post Malone and Taylor Swift following the trend. A well-executed lyric video can go a long way in connecting with your audience and help them memorize your song. Lyric Videos can be simple or complex, depending on the artist’s vision and budget.
In this guide, I’ll take you through the steps to bring your vision to life and make a lyric video that’ll stand out. So, let’s get started!
Step 1: Determine the Concept & Storyboard
First things first, you need to determine the concept for your lyric video and create a storyboard. This concept should align with the theme and style of your song and the storyboard should outline the flow of the video, including the placement of the lyrics and any additional visual elements. So, take a moment to think about what makes your song unique and the kind of visual experience you want to create for your audience.
Step 2: Visualize the Video
Now that you have a concept in mind, it’s time to decide on the visuals for your lyric video. These visuals can range from simple typography to intricate animations and should complement the lyrics and enhance the viewing experience. Incorporating your album artwork or images that match the lyrics is a popular trend.
The background imagery of your lyric video is an important aspect that can make your completed video stand out. A popular free website to find high-quality stock photos and videos that you can use in your video is Pexels. If you’re willing to spend a little bit of money to take your video to the next level you can try Pond5. No matter where you source your material from, keep in mind the mood you want to convey and choose visuals that fit that vibe.

Step 3: Choose the Typography
The typography in your lyric video showcases the lyrics, so choose a font that’s legible and fits the style of your song. The color, size, and animation of the text should make it easy for your audience to read and not distract from the lyrics. So, avoid fonts that are too ornate or difficult to read as they can take away from the viewing experience. A great place to find free specialty fonts that you can use in your video is 1001 Free Fonts. Additionally, Google Fonts is another good option for more traditional fonts.
Step 4: Animate the Lyrics
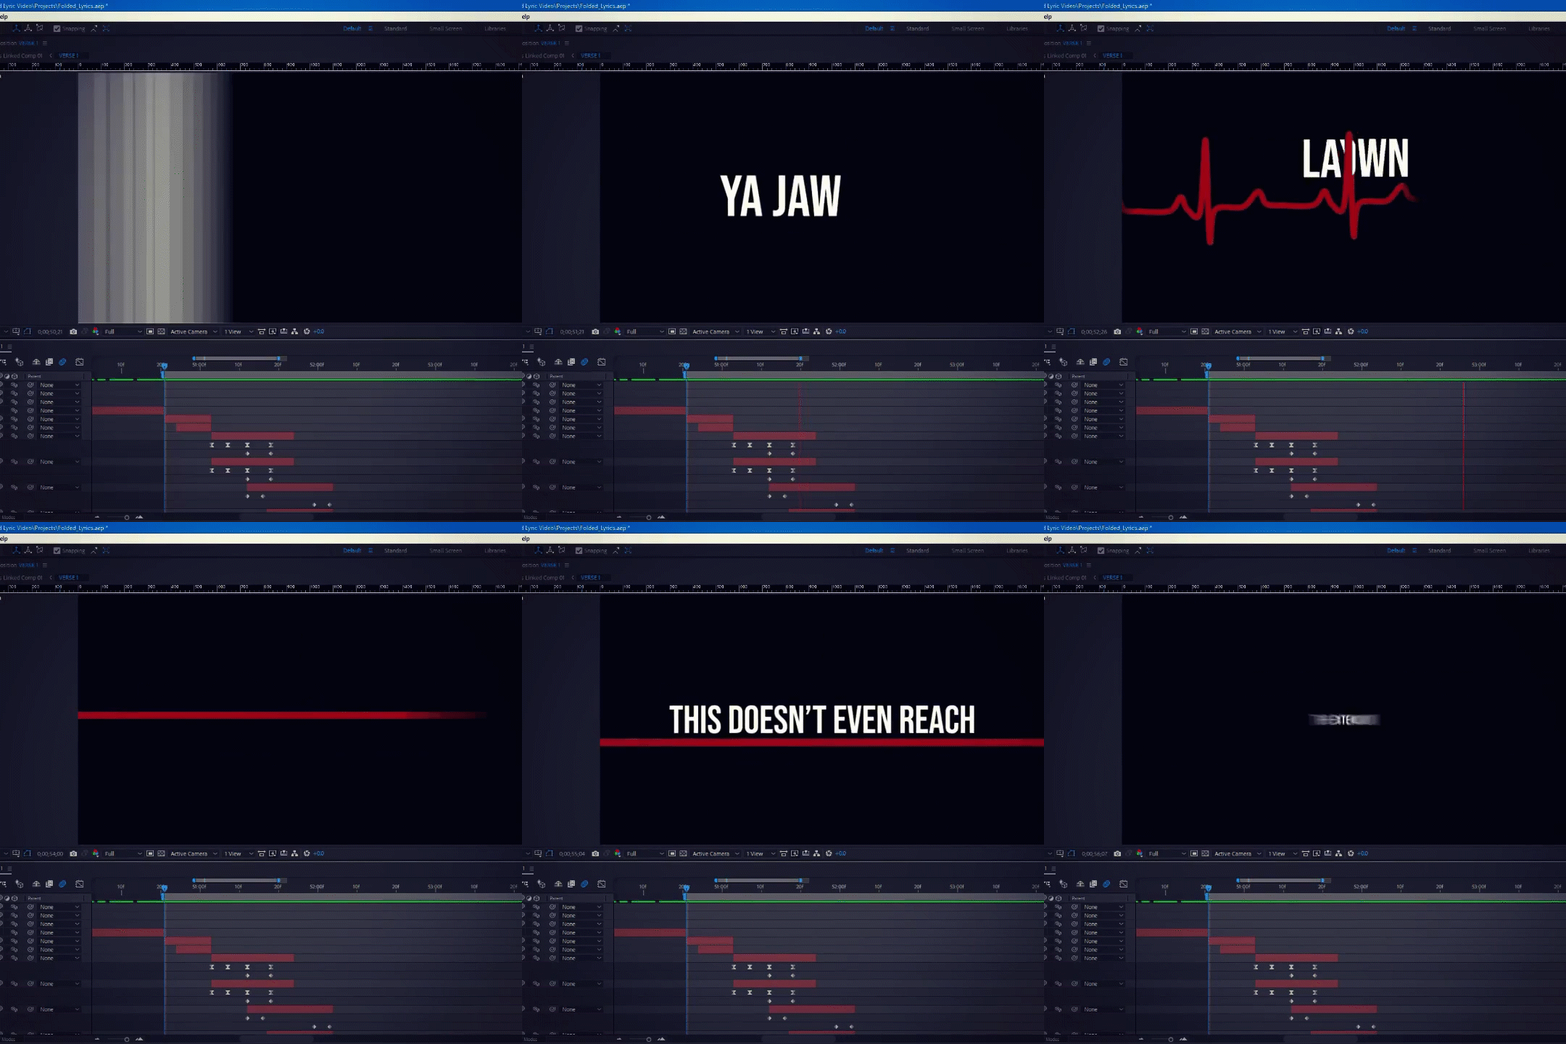
Animating the lyrics by hand using keyframes will add a dynamic element to your lyric video. Use a program like Adobe After Effects that has all of the tools required to create stunning animations from scratch. Choose animations that complement the song and don’t distract from the lyrics. The animation should enhance the viewing experience and not take away from it. For example, if your song is fast and upbeat, your animations should reflect that. You can animate your lyrics to pop up on screen quickly on beat with the song or fade in slowly if it is a slower song. The important thing when animating is to consider the style of your song, the mood you want to convey, and the pacing of the video.

Step 5: Sync Music to the Lyrics
Now, make sure your song audio file is exported in a high-quality format (.WAV) so that it won’t lose quality when it’s exported again in the finished video later. Bring the song into your animation program and make sure it is synced perfectly with the typography. A well-synced audio track will provide a seamless viewing experience for your audience and keep their attention on the lyrics.
Step 6: Choose Your Color Palette
The color palette of your lyric video can help set the tone and mood. Choose colors that fit the style of your song and complement the visuals and typography. A consistent color palette will give your lyric video a professional look and feel, and help tie all the elements together. Consider the mood you want to convey and choose colors that fit that vibe.
Step 7: Put it All Together
Now that you have all the elements in place, it’s time to put it all together. Use video editing software like Adobe Premiere Pro to assemble the video, including the audio, visuals, typography, and animation. Make sure the video flows smoothly and the elements work together to create the desired effect.
Step 8: Revisions & Final Touches
Before you publish your lyric video, take some time to review it and make any necessary revisions. Does the video align with your concept and storyboard? Are the audio and visuals synced correctly? Do the typography and animation enhance the viewing experience? If not, make the necessary revisions.
Step 9: Share & Promote
Now that your lyric video is complete, it’s time to share it with the world! Upload it to YouTube or Vimeo and post it on social media platforms like Instagram and TikTok. If you have an official website, be sure to upload your video there too. A well-promoted lyric video will help you be successful in building your brand and provide a unique experience for your fans, so make sure you put your best foot forward. Also, don’t forget to thank your audience for their support.
In conclusion, a well-produced lyric video can be a powerful tool for promoting your music and connecting with your audience. By following these steps, you’ll be able to create a lyric video that stands out and enhances the viewing experience for your fans.
We also understand that a great lyric video can be time-consuming to produce. Here at MP Media, we offer custom Lyric Video Production that fits the budget needs of artists of all sizes. Contact us for a Free Quote on your project, or learn more about our Lyric Video Production services. We can help you create an amazing lyric video that your audience will love.
